Adding an arch in a wall
Working with planes for walls is really convenient and easy. But sometimes, you need to have a curve and the arch is the perfect example.
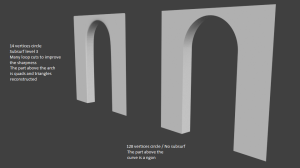
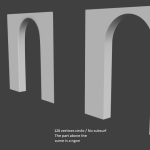
Here is my test to cut a curved hole in a wall.
Update 08/01/2013 : Step by step to create the arch
We start with a simple plane.
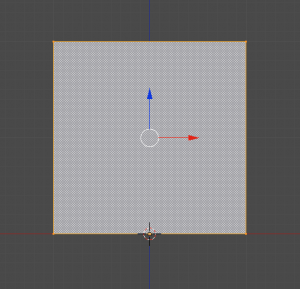
Add two vertical loop cuts and one horizontal.
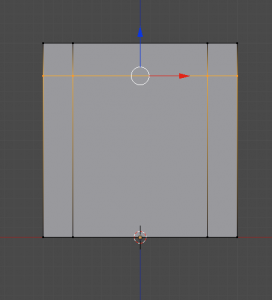
Delete the two faces in the middle choosing “Only Faces”.
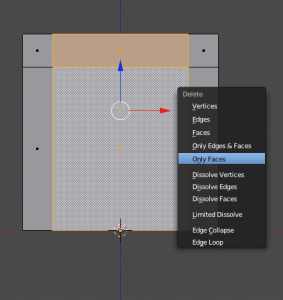
Delete two of the three left edges.
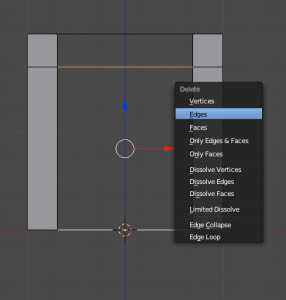
Stay in edit mode and add a circle. Set “Fill Type” to nothing and choose an appropriate number of vertices (cf. my test result). Select half of the circle’s vertices and delete them.
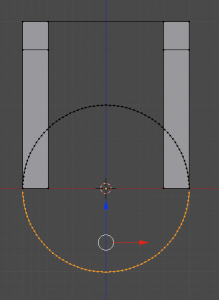
Move verticaly the points of the obtained curve (G Z) to position the arch. You might scale it also along the Z and X axis (S Z / S X). If you lost the selection on the half circle, you just need to select one vertex of it and press L.
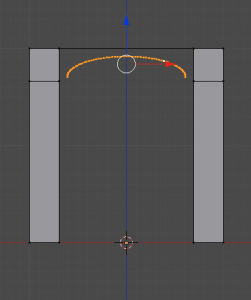
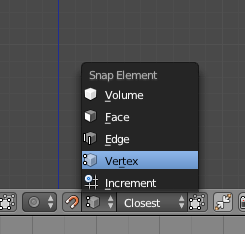
Switch to snap mode and select vertex.
Move verticaly the half circle to snap it at the same Z position than the connection point of the plane.
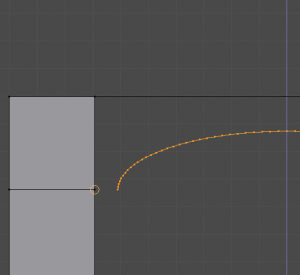
Resize it horizontaly to snap it to this connection point.
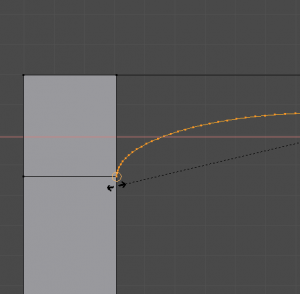
Finally, select all the points in the middle, don’t forget to remove doubles and create a ngon by pressing F.
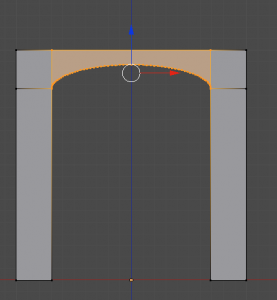
It’s certainly not the best, most accurate, convenient method but you can obtain good results. I know that ngon are not ideal in modeling but in that particular case, it’s still ok to have one.
If you have a better method or a way to improve this one, don’t hesitate to share in the comments.

Nice pic, but how did you do it? The Window generator has an arch option, but I haven’t used it because I don’t know how to put the arch in the wall.
Hi Peter
Just added the step-by-step process. Hope it will help you.
Thanks! I really appreciate it.